
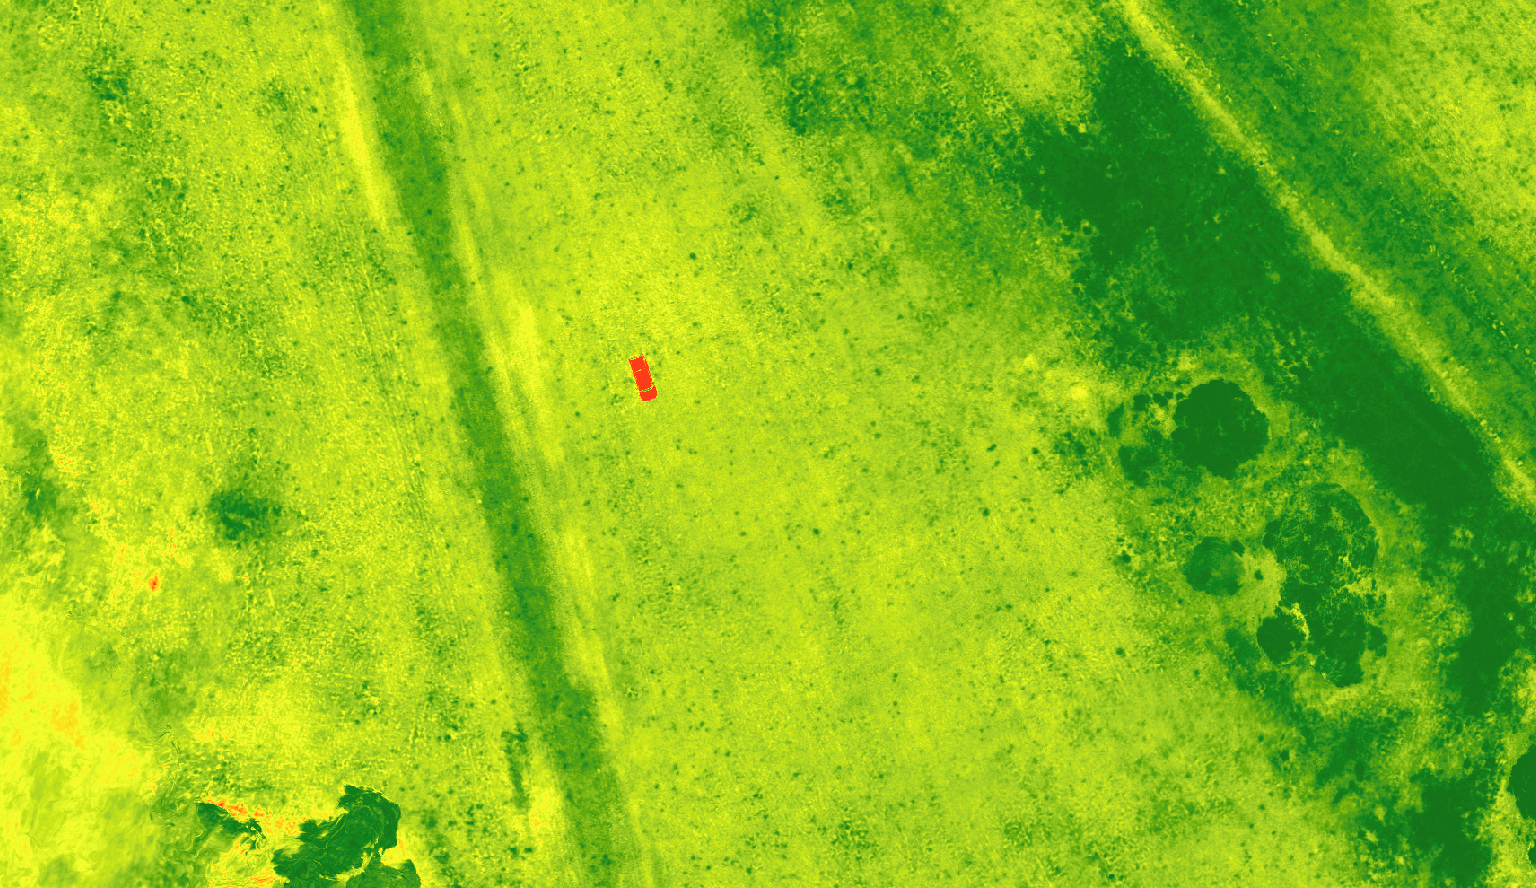
Geotagged imagery is a basic requirement for most drone data processing and orthomosaic production workflows. Photogrammetry software uses the location stored in each image to estimate the camera positions, align overlapping photographs and reconstruct the surveyed area.
Recently, we needed to produce an orthomosaic from near-infrared imagery captured using a MAPIR camera. The images had been captured successfully, but they contained no usable GPS coordinates.
Fortunately, the drone’s integrated RGB camera had operated during the same automated flight. Those RGB images contained both timestamps and GPS coordinates, while the MAPIR images still contained reliable capture times.
This gave us enough information to reconstruct the missing image positions.
Using ExifTool and Windows PowerShell, we:
inspected the metadata in both image collections;
identified the time difference between the cameras;
converted the RGB image metadata into a GPS track;
matched the NIR timestamps to that track;
wrote interpolated coordinates into the NIR image metadata; and
validated the reconstructed flight path before beginning orthomosaic processing.
The same method may be useful in other multi-camera drone surveys where one camera records positions and another records only image timestamps.
What you need
This workflow requires:
RGB images containing
DateTimeOriginal,GPSLatitudeandGPSLongitudepreferably, GPS altitude recorded in the RGB images
NIR images containing a reliable
DateTimeOriginalWindows PowerShell
ExifTool for Windows
GIS software or another way to check the reconstructed image locations
Both cameras must have operated during the same flight. The RGB images also need to have been captured frequently enough to represent the movement of the drone between NIR photographs.
Step 1: Download and prepare ExifTool
Download the appropriate Windows package from the official ExifTool website and extract the downloaded folder.
The extracted folder contains an executable named:
exiftool(-k).exeRename it to:
exiftool.exeKeep the accompanying exiftool_files folder in the same directory.
For example:
C:\exiftool\exiftool-13.59_64\The folder should contain:
exiftool.exe
exiftool_files\
Step 2: Open PowerShell in the ExifTool folder
Open Windows PowerShell and change the working directory to the location containing exiftool.exe:
cd "C:\exiftool\exiftool-13.59_64"Confirm that ExifTool is working:
.\exiftool.exe -verPowerShell should return the installed ExifTool version.
Step 3: Inspect the image metadata
Before trying to reconstruct the missing GPS locations, confirm which metadata fields are available in both sets of drone imagery.
To inspect an individual image:
.\exiftool.exe `
-FileName `
-DateTimeOriginal `
-GPSLatitude `
-GPSLongitude `
-GPSAltitude `
"C:\path\to\image.JPG"
To inspect all images in a folder:
.\exiftool.exe `
-FileName `
-DateTimeOriginal `
-GPSLatitude `
-GPSLongitude `
-GPSAltitude `
"C:\path\to\image-folder"
A correctly geotagged RGB image should return information similar to:
File Name          : RGB_0337.JPG
Date/Time Original : 2026:05:14 11:22:52
GPS Latitude       : 38 deg 28' 51.16" S
GPS Longitude      : 145 deg 14' 36.68" E
GPS Altitude       : 200 m Above Sea Level
In our case, the MAPIR NIR images returned a valid timestamp but zero coordinates:
Date/Time Original : 2026:05:14 10:55:44
GPS Latitude       : 0 deg 0' 0.00" N
GPS Longitude      : 0 deg 0' 0.00" E
The retained timestamps were the key to recovering the missing positions.
Step 4: Identify matching RGB and NIR images
The cameras had not been time-synchronised. We therefore needed to calculate the difference between their internal clocks before transferring the RGB positions to the NIR images.
We visually compared the RGB and NIR image sequences and identified pairs that appeared to have been captured at approximately the same moment and location.
Useful reference points included:
the start or end of a flight line;
distinctive turns;
roads, trees or infrastructure visible in both images;
the point where the drone began moving; and
transitions between survey sections.
For one matching pair, the image times were:
NIR image:
2026_0514_105545_548.JPG
2026:05:14 10:55:44

RGB image:
RGB_0337.JPG
2026:05:14 11:22:52
The apparent difference was:
11:22:52 - 10:55:44 = 00:27:08It is important not to rely on a single pair. Camera clock drift, uncertain visual matching or images captured while the drone was stationary can affect the result.
We compared five pairs distributed across the flight:
NIR time   RGB time   Difference
10:55:44   11:22:52   00:27:08
10:57:56   11:25:07   00:27:11
11:01:30   11:28:41   00:27:11
11:08:12   11:35:21   00:27:09
11:11:36   11:38:47   00:27:11
Based on these results, we selected a time offset of approximately:
+00:27:11The positive value indicated that the RGB camera clock was approximately 27 minutes and 11 seconds ahead of the MAPIR camera clock.
The required offset should be calculated separately for each flight or survey. It should not be assumed that the same value will apply to another dataset.
Step 5: Create a GPS track from the RGB images
The next step was to export the RGB image metadata as a CSV track.
ExifTool expects the timestamp field in a CSV geotagging track to be called GPSDateTime. However, the source timestamp stored in the RGB image metadata was called DateTimeOriginal.
The PowerShell workflow therefore needed to export the metadata and replace the CSV header during the process.
First, define the RGB image folder and the output track file:
$rgbFolder = "C:\path\to\RGB\Flight 2 - West EOD"

$track = "C:\path\to\working-folder\RGB_Flight2_track_geotag.csv"
Then export the RGB image metadata:
& "C:\exiftool\exiftool-13.59_64\exiftool.exe" `
-csv -n `
-DateTimeOriginal `
-GPSLatitude `
-GPSLongitude `
-GPSAltitude `
-ext JPG `
$rgbFolder |
ForEach-Object {
    $_ -replace '^SourceFile,DateTimeOriginal,', 'SourceFile,GPSDateTime,'
} |
Set-Content -Encoding utf8 $track
The resulting CSV should contain these fields:
SourceFile,GPSDateTime,GPSLatitude,GPSLongitude,GPSAltitudeThe -n option exports the latitude, longitude and altitude as numeric values instead of formatted coordinate strings.
Saving the file using UTF-8 encoding also avoids CSV encoding problems encountered during testing.
Step 6: Test the process on a small image sample
Before modifying the complete NIR image collection, copy a small number of images into a separate test folder.
Select images from different parts of the flight rather than a group of consecutive images. This gives you a better chance of detecting an incorrect time offset or poor interpolation.
Use the following command:
.\exiftool.exe `
-geotag $track `
'-Geotime<${DateTimeOriginal}+00:00' `
-geosync="+0:27:11" `
-api GeoMaxIntSecs=10 `
"C:\path\to\NIR-test-folder"
Each part of the command serves a different purpose.
-geotag $track
This tells ExifTool to use the RGB CSV as the GPS track.
'-Geotime<${DateTimeOriginal}+00:00'
This uses the NIR image’s DateTimeOriginal value as the time used for geotagging.
-geosync="+0:27:11"
This applies the calculated difference between the RGB and NIR camera clocks.
-api GeoMaxIntSecs=10
This allows ExifTool to interpolate a position where the surrounding RGB track points are no more than 10 seconds apart.
The appropriate GeoMaxIntSecs value will depend on the capture frequency of the RGB imagery and the requirements of the project.
Step 7: Check the new GPS metadata
After processing the sample, inspect the NIR image metadata again:
.\exiftool.exe `
-FileName `
-DateTimeOriginal `
-GPSLatitude `
-GPSLongitude `
-GPSAltitude `
"C:\path\to\NIR-test-folder"
The processed images should now contain populated latitude, longitude and altitude values.
ExifTool may report warnings relating to unrecognised camera MakerNotes. In this workflow, the important check was whether the standard GPS metadata fields had been written successfully.
Step 8: Validate the positions spatially
Populated metadata does not necessarily mean the selected time offset is correct.
Load the geotagged NIR images into GIS software and compare their locations against:
the RGB image positions;
the expected drone flight path;
recognisable features visible in both image sets; and
the order of images along the flight lines.
Check images from the beginning, middle and end of the flight. Also inspect turns, transitions between flight lines and any locations where the drone may have remained stationary.
In one of our flights, several early NIR images were assigned to the same location. This initially appeared unusual, but inspection showed that the camera had captured multiple photographs before the drone began moving. The repeated locations were therefore reasonable and did not indicate failed geotagging.
Where alignment is poor, adjust the -geosync value slightly or reassess the visually matched image pairs.
Step 9: Process the complete NIR flight
Once the sample results have been checked and accepted, run the same command against the complete NIR image folder:
.\exiftool.exe `
-geotag $track `
'-Geotime<${DateTimeOriginal}+00:00' `
-geosync="+0:27:11" `
-api GeoMaxIntSecs=10 `
"C:\path\to\complete-NIR-flight-folder"
After processing, repeat both the metadata inspection and spatial validation across the complete dataset.
The geotagged NIR images can then be supplied to the chosen photogrammetry or drone data processing software for image alignment and orthomosaic production.
Recommended quality-control process
For each flight:
Confirm the RGB images contain timestamps and GPS coordinates.
Confirm the NIR images contain valid timestamps.
Identify several visually matched RGB and NIR image pairs.
Calculate the clock difference for each pair.
Check whether the offset is reasonably consistent throughout the flight.
Export the RGB metadata as a CSV track.
Confirm that the timestamp header is named
GPSDateTime.Save the track using UTF-8 encoding.
Test the process on copied NIR images.
Inspect the newly written GPS metadata.
check the reconstructed positions spatially.
Process the full flight only after the sample is satisfactory.
Retain the selected offset, commands and validation notes with the project records.
Common problems
The CSV contains DateTimeOriginal instead of GPSDateTime
ExifTool may not recognise the values as GPS track times.
Replace:
SourceFile,DateTimeOriginal,with:
SourceFile,GPSDateTime,The PowerShell export command in this article performs that replacement automatically.
CSV encoding errors
Make sure the output is written using:
Set-Content -Encoding utf8Images receive incorrect positions
Possible causes include:
the wrong images were paired when calculating the time difference;
the camera offset changed slightly during the flight;
some NIR images were captured while the drone was stationary;
the RGB track points are too far apart;
the chosen
GeoMaxIntSecsvalue is unsuitable; orthe cameras use inconsistent time references.
Test several images distributed across the flight before modifying the complete collection.
Images are not geotagged
Check that:
the NIR images contain
DateTimeOriginal;the CSV contains a
GPSDateTimeheader;latitude and longitude are stored as numeric values;
the GPS track path is correct;
the NIR image folder path is correct; and
the adjusted NIR time falls within the time period covered by the RGB track.
Recovering a drone mapping dataset
Missing GPS metadata can prevent otherwise valid drone imagery from being used in a standard orthomosaic production workflow.
In this case, the combination of reliable NIR timestamps and geotagged RGB images provided a way to reconstruct the missing positions. The most important parts of the process were establishing a reliable camera time offset, formatting the RGB CSV track correctly and validating a sample spatially before processing the full image collection.
The process does not replace accurate geotagging at the time of capture. However, it can provide a practical recovery option when two cameras operated during the same drone survey and one retained both image timestamps and GPS coordinates.